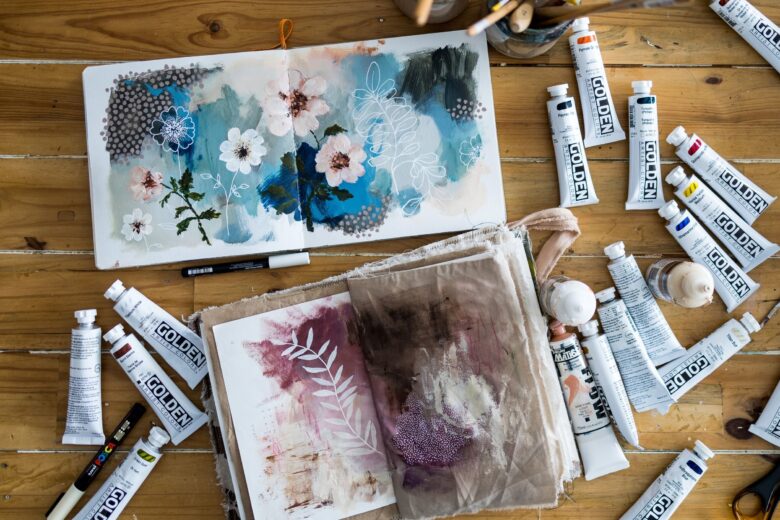
Hand painting is a fun way to create a space of your own, make meaningful gifts, and enjoy the stress-relieving benefits of creativity. If you want your project to look more professional, whether it’s painting walls, repairing old furniture, or creating unique items for your home, you need to learn some simple painting techniques. This article discusses important painting tips and techniques that can help you complete your home projects.
Prepare the Surface:
To make sure your paint sticks and looks great, you need to do some work before you start having fun. First, clean the area thoroughly to remove any dust, grease, or rust. Sanding is important for smoothing the underside of furniture or other wooden objects. Start with coarse sandpaper and gradually increase the grit size. Clean the area with a damp cloth and let it dry completely.
Primer is a Good Griend
Primer is an important step that people often forget to do, but it’s especially important for porous or dark surfaces if you want a professional finish. Primer helps hide imperfections, gives you a smooth base and makes your top coat last longer and adhere better. Choose a base that matches the paint and surface you have.
How Do You Choose the Right Paint?
Choosing the right type of paint is very important to the success of your job. Acrylic paints can be used for many projects because they are water-based and dry quickly. Although oil-based paint lasts longer and can be used on furniture, it still requires cleaning with a cleaning solution. Choose milk paint or chalk paint, which are better for the environment, have a nice matte finish and are easy to apply.
How Do You Use the Brush?
Mastering brush methods can have a big impact on your work. Use a high-quality synthetic brush and use long, even strokes of paint for a smooth finish. Don’t use too much paint on your brush and use fine sandpaper to lightly sand between coats to avoid brush marks. Try dabbing or stippling with different sizes and shapes of brushes for a detailed effect.
Blending Colours:
Using blends is a great way to add depth and interest to your project. For smooth colour mixing, use wet paint and a clean, dry brush to soften the colour changes. Getting good at anything takes practice, so don’t be afraid to try it out on scraps before using it for a project.
Stenciling:
An easy way to add complex designs or patterns to your project is to use templates. Place painter’s tape around the stencil to hold it in place, then apply the paint with a stencil brush or sponge. Make sure you don’t have too much paint on your brush so that the colour doesn’t bleed under the pattern. Make your own stencils from cardboard or plastic sheets to add a more unique touch.
Distressing:
Distressing is a great way to make an item look old or worn. Once you have finished painting, lightly sand the edges and areas that become worn over time. Pay attention to the sides, corners and bulges. You can use finer sandpaper for a softer effect or coarser sandpaper for a more noticeable worn appearance.
Glazing:
To add depth and complexity, glazing means adding a layer of transparent colour over a dry base coat. Add polish to a small amount of acrylic paint and apply it over the base coat. Use a cloth to wipe away excess product until you get the look you want. This method allows you to add shadows, highlights, or an aged finish.
Keep Items Safe and Sealed:
When your masterpiece is complete, you can apply a clear coat over it to cover it all up and preserve it for longer. Choose a finish that suits the type of paint you are using and the purpose of the item. For a stronger finish, you can use a water-based finish, chalk wax or milk paint, or polyurethane.
Work Hard and be Patient:
Craft painting is a skill that takes time and practice to master. Mistakes are a normal part of the learning process, so don’t let them get you down. Experiment with different methods, supplies and tools to find what works best for you and your project.
Conclusion:
Craft paintings offer you many options to make your home decoration unique and beautiful. You can advance your projects and produce results that resemble those of a professional by learning these straightforward tips and techniques. Remember that patience and creativity are the most important things you need for any job. Have fun drawing!
FAQs:
1. Do I need to use a base every time I draw crafts?
Yes, most paint jobs will require you to use a primer. This is especially true for porous surfaces, surfaces with uneven tones, or surfaces made of materials that tend to absorb paint. Primer creates a smooth, even base that allows the paint to adhere better and produce a better overall effect.
2. How do you paint without leaving brush marks?
Use a high-quality synthetic brush and paint in long, even strokes to minimise brush marks. Don’t put too much paint on your brush and if you want to remove any stains, sand lightly between coats with fine sandpaper. Using a paint conditioner can also help reduce water-based brush marks.
3. Can I use both acrylic and oil paint in my art?
It’s not a good idea to mix acrylic and oil paints because they dry at different speeds and are made of different chemicals. However, you can paint on a completely dry acrylic base. This is possible because acrylic paint dries quickly and provides a stable base for oil paint. Remember, the general rule is “fat over lean,” meaning you can put oil (fat) over acrylic (lean), but not the other way around.
4. How do you decide to use a stencil brush or sponge when stencilling?
What you want to achieve and your comfort level with each tool will determine whether you should use a stencil brush or sponge. For precise control and a more textured look, stencil brushes are a good choice. Sponges, on the other hand, are ideal for covering larger surfaces quickly or creating a softer, more blended look. Both methods require you to dab the paint and use a small amount so that the paint doesn’t get under the stencil.
5. Do I need to seal every artefact I sign?
Not every item needs to be sealed, but items that are frequently handled, come into contact with water, or are left outdoors should be treated protectively. Sealants protect paint from damage such as dirt, UV rays and water, so your project will last longer. The sealant you use depends on the paint and the job you want to do.


